DBS Restoration
DBS Restoration
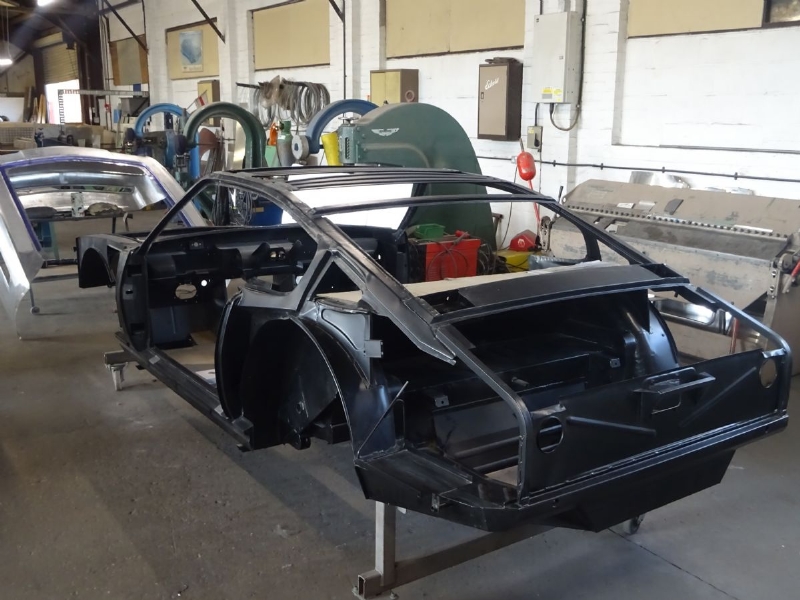
Introducing "Bob" an Aston Martin DBS requiring a lot of love and restoration. The owner has kindly given us permission to share Bob's journey to restoration. We will continue to update this project with photographs and information regarding the ongoing work Bob reqires, but for now, here you can see the poor state of some of the original panels, it would appear that this car has been in an accident at some point in time and most of the exterior panels require some repair and reinforcement.
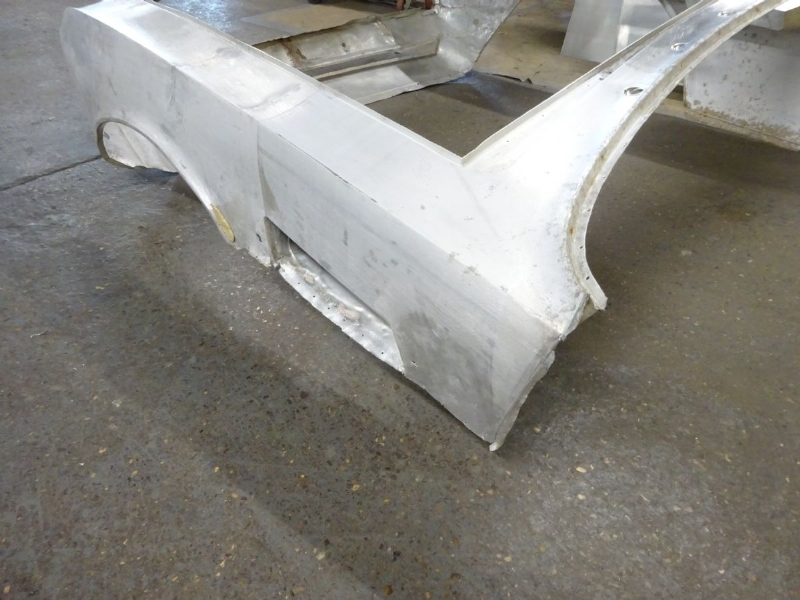
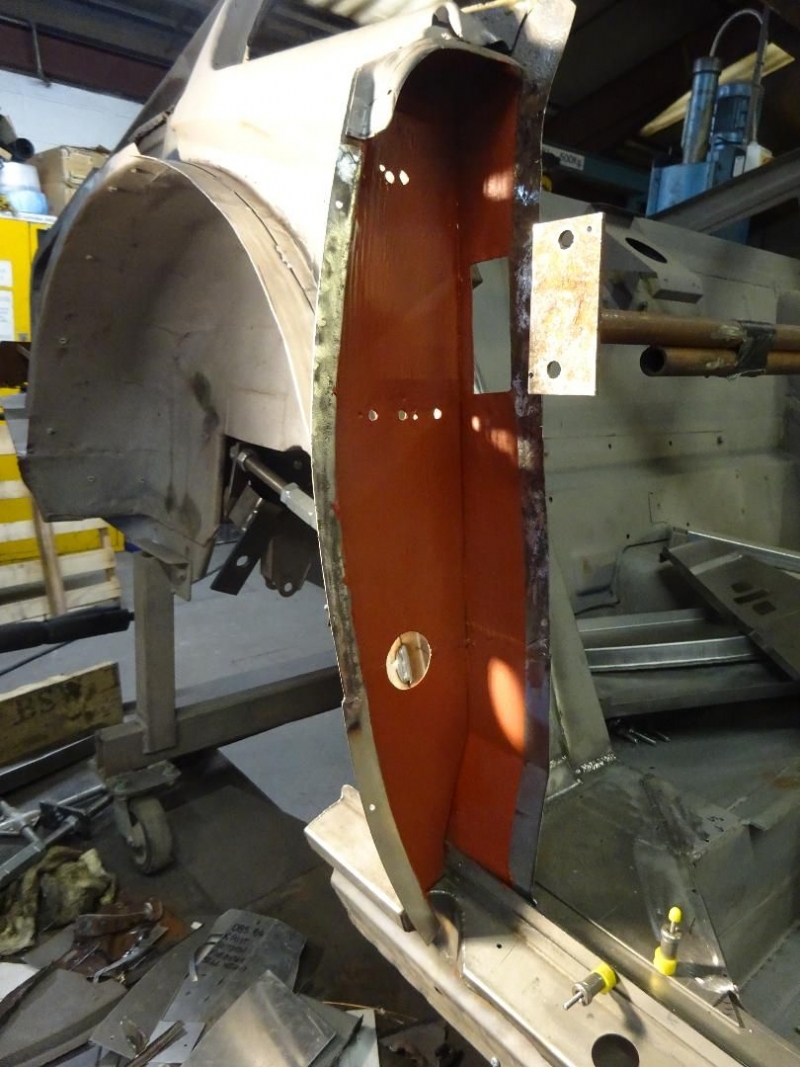
As we know, Bob requires a lot of TLC, and sometimes in whole car restorations, knowing where to start proves difficult. One area we have started to work on is repairing the rear wheel arches, as you can see from the photographs, and also completely replacing the B Post panels. We manufacture a wide range of DBS parts, which you are able to view here including front and rear B Post Panels, together with the reinforcings, and B Post repair panels front and rear (only rear pictured). If you are undertaking a restoration and require parts or advice, don't hesitate to contact us.
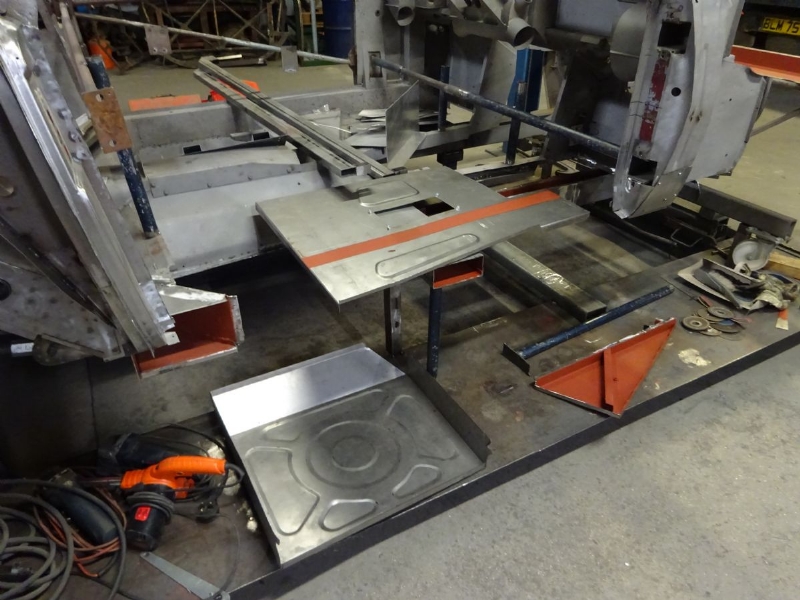
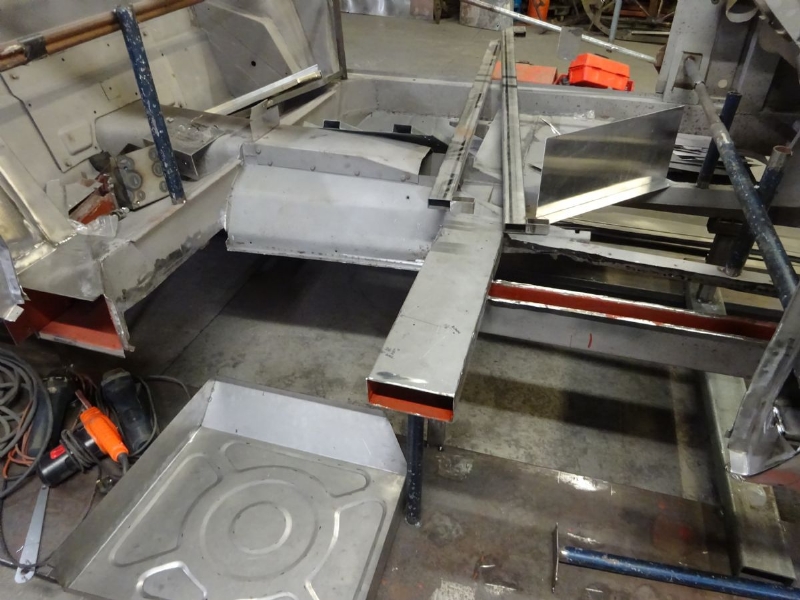
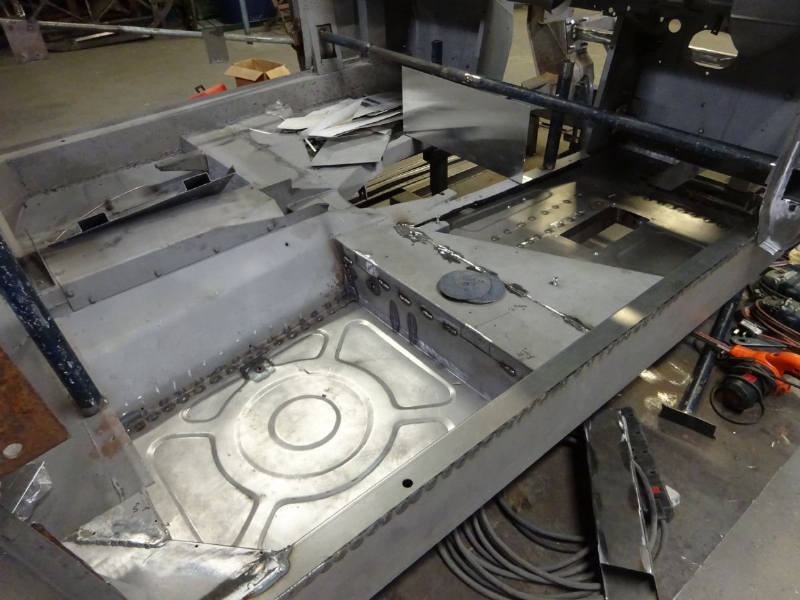
With a whole car restoration such as this, sometimes it seems that whilst the work on one area may take many hours, it doesn't seem to make much difference to the overall appearance of the car, until all of a sudden you can see it beginning to take shape. As you can see from the new photographs added, we have replaced the inner sills as the originls were beyond repair, and for structural security repair isn't always the best option. Together with new front and rear floors and some general repairs and tidy up of the main chassis leg, the work is coming along nicely and we can start to see some real changes since first receiving the car.
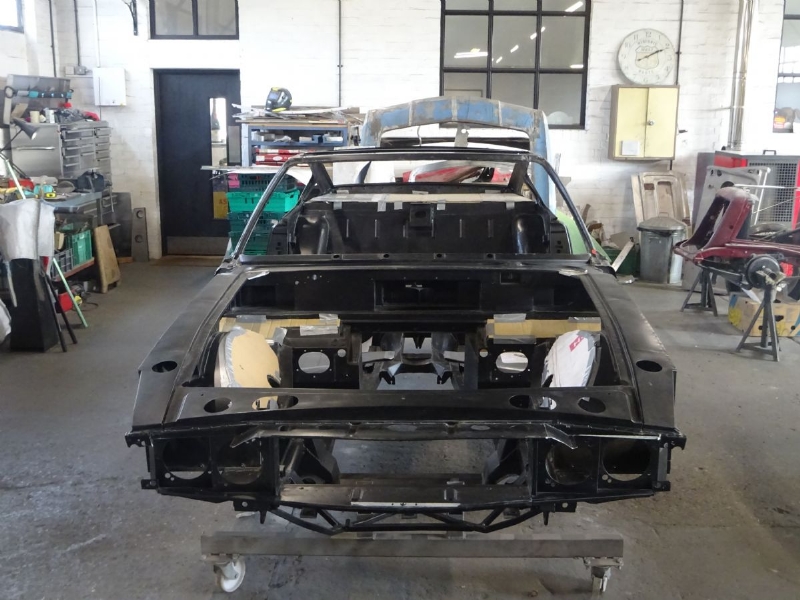
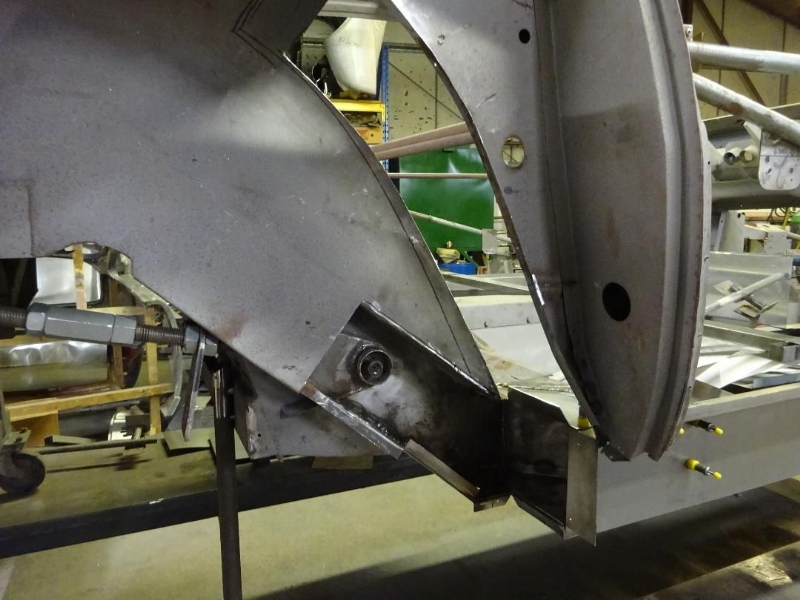
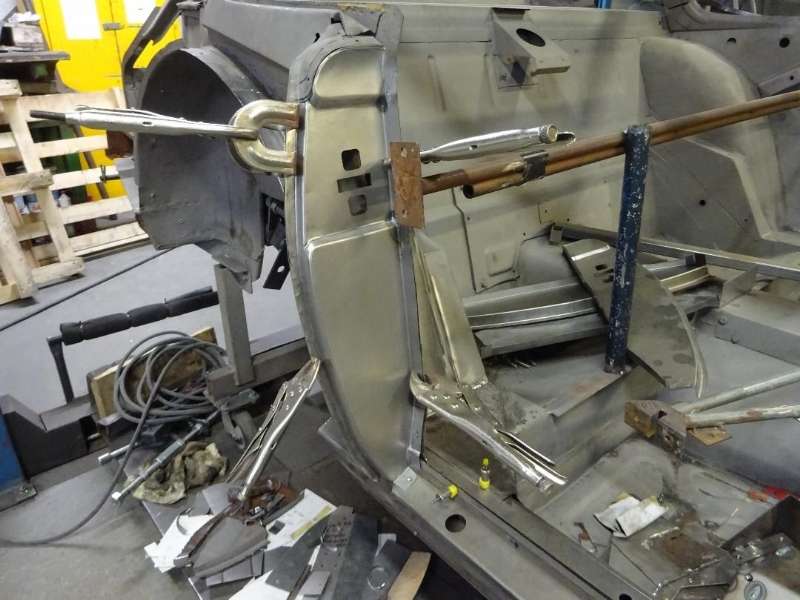
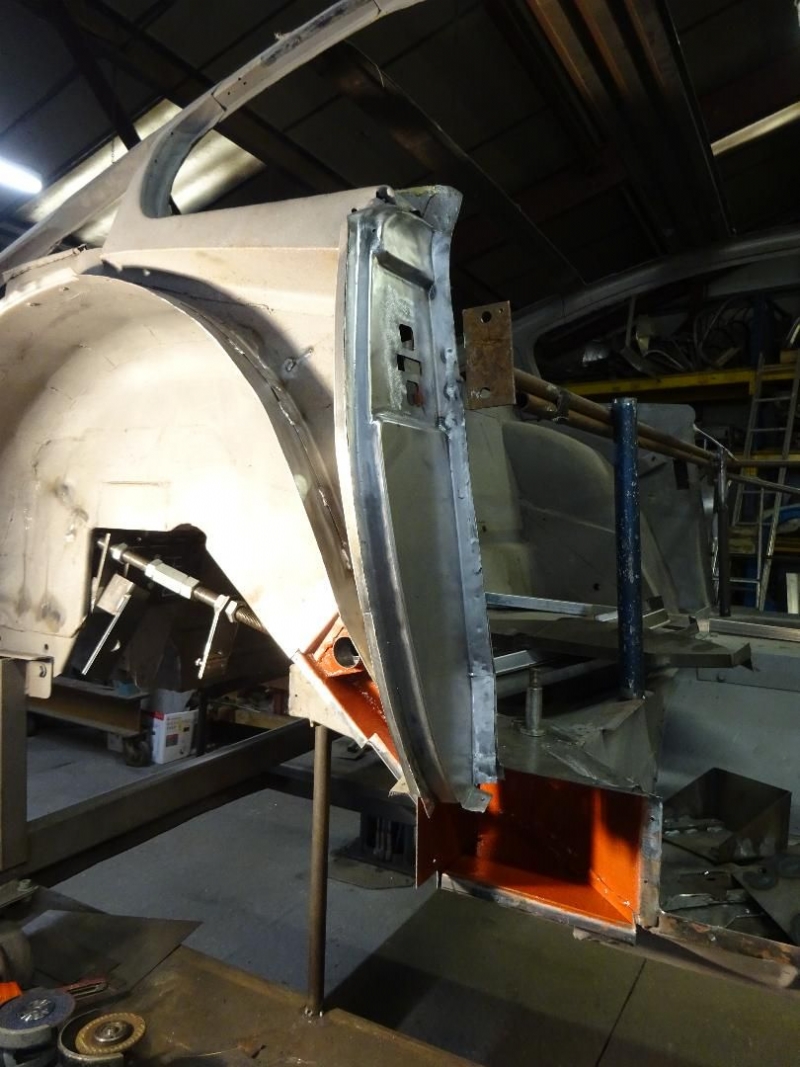
It was clear from the beginning that Bob had been involved in a sizeable accident at some point in its lifetime and so a large amount of repair was required, and as you can imagine, the front end of a DBS has an awful lot of parts involved! In order to undertake the work required, the inner wheel arches were removed, as were the engine compatment side panel, which were ultimatey replaced. There was damage to the original engine mounting panels and blocks as you can see in the photograph and so these were relaced on both sides, this unfortunately seems to be a reoccuring repair required in DBS restoration, as this is not the first time we have come across it. As such we do manufacture these parts if you find yourself in a similar position. On one side, as you can see, the angled rail front extensions and anti roll bar mounting were replaced due to sustained damage and new servo mounting brackets were fitted.
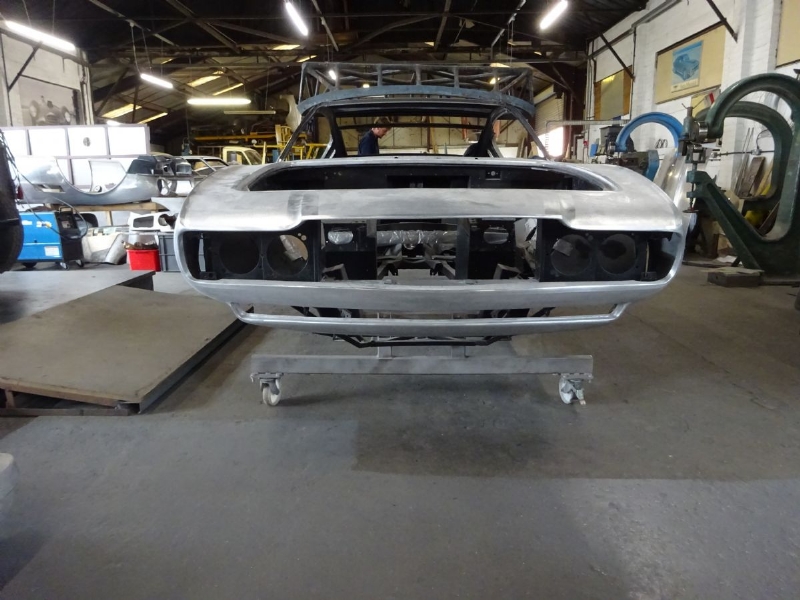
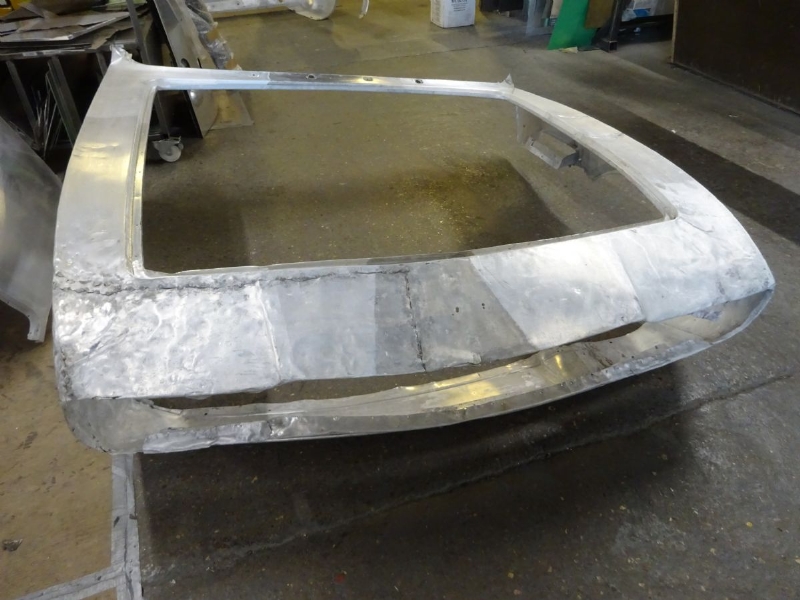
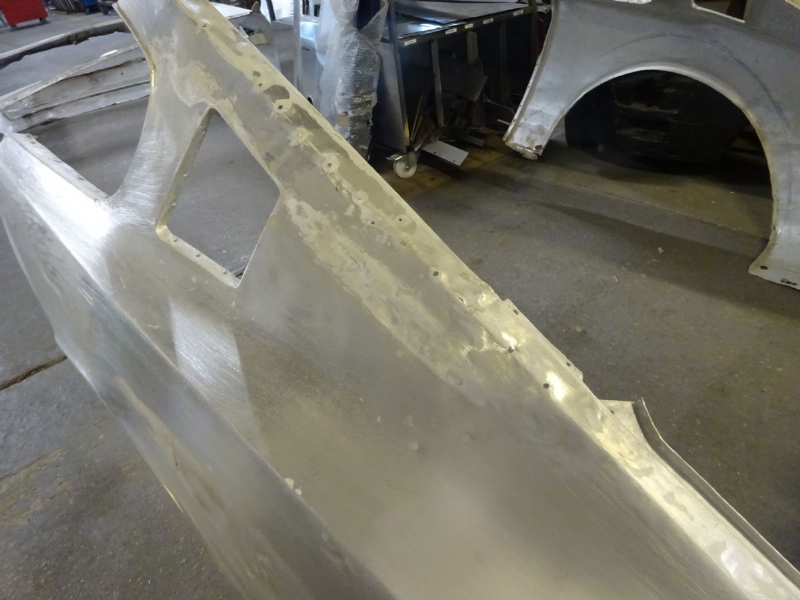
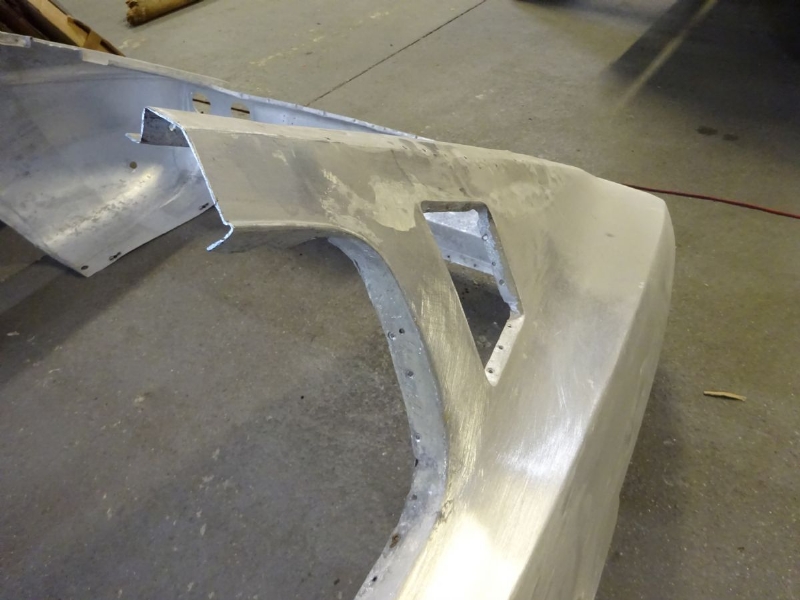
Bob has required a sizeable amount of work to the front end, which is not surprising when you look at the original panels! We have been busy making and fitting new bonet landing panels for both the front and side, which aid in building the shape of the front of the car, and once secured will allow for work to commence on the bonnet. The front end/ headlamp panel, which comprises of many smaller sections including top hat sections, headlamp mounting brackets etc which all contribute to the instantly recognisable DBS front end have been completely replaced. We do manufacture and sell the bonnet landing panels which you can view here if you re undertaking your own DBS restoration project, along with the majority of the parts we have replaced on Bob.
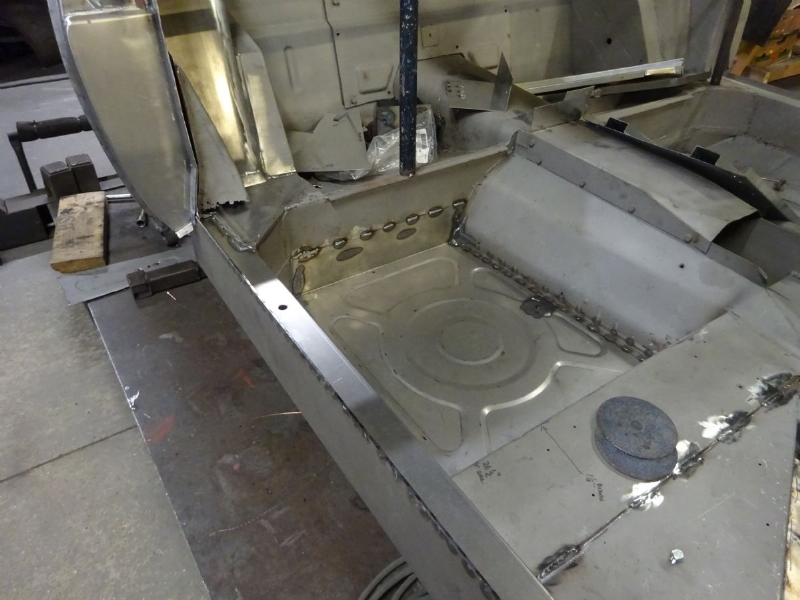
Bob is about to undergo a sizeable milestone in his restoration, which hopefully we'll be able to share with you the other side of the New Year. However for now work has continued on Bob, and still focussing on the front end, these photographs show a complete replacment of the footwell gusset to the right hand side of the car, the left only required minor repair in comparison. As you can see from some of the previous photos, the footwell gusset is located on the upper section of the chassis and provides support and structure to the car. We do sell Footwell Gussets, which you can view in our "Parts" section of the website.
Happy New Year! As you can see from the new photographs, Bob has both bonnet side landing panels fitted and fixed in place, and is patiently awaiting the ever important bonnet. The front wheel arches on both sides have also been welded in place and the front end is far more structurally sound than when he first arrived. All of the work completed on Bob so far, including the replacement sills, B post structure and various parts repaired and replaced within the front end/headlamp panel are finally coming together and we can see real progress in this whole car restoration.
Its been a little while since we last checked in on the restoration of Bob the DBS, and while this documentation of his restorative journey has predominantly focussed on the front end, we have also been busy repairing and replacing the rear of the car too. As you can see, when Bob came to us, the rear boot panel was split and pretty rusty, and so this has been replaced with a new one, as has his battery tray, which now sits upon a new boot side panel, and a complete new boot floor too. You can find all these components in our "Parts" section here.
We featured the repair of the "B Posts" a while back, where we also undertook repairing the rear wheel arches, as you can see it required some extensive structural repairs. While we stock a large range of Parts for the Aston Martin DBS, we do not manufacture many of the rear wheel arch parts, this is mainly because experience tells us, most of the time a little localised repair is all thats required (this is beneficial for us, as it is particularly difficult, in comparison to the front arches, to completely remove the rear wheel arches and replace with new!)
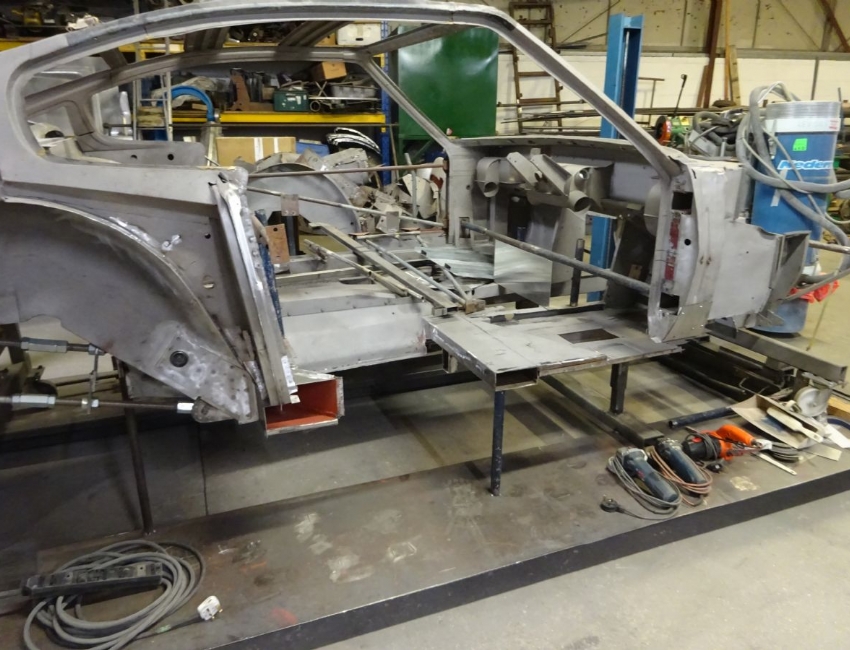
Bob is booked into be sandblasted and powdercoated soon so it has been all hands on deck these last few weeks to get him ready. You can see in the new photos added below that we've been busy on last minute welding and final touches to the chassis work, we have a roll over jig that we have used whilst working on Bob to allow slightly easier access to some of the more difficult to work on parts. We unfortunately don't have the facilities to sandblast or powder coat at our workshop but we are happy to give our recommendations if you're in need of a similar service. We can't wait to see how he looks afterwards and will be sure to take plenty of photos.
Its been a couple of months since we last checked in on Bob's restoration progress and as promised here are the photos of him post sandblasting and powder coating, this is a very important and significant stage of the restoration journey as it marks the finish of the structural chassis work. He has already been sandblasted once before at the begining of the chassis repairs, so this is classed as as reblast. This initial sandblast allowed us to see the full extent of the work required, and any damage that may have been masked by underseal etc.
Sandblasting and powder coating are two separate processes in which blasting the steelwork work removes any dirt, remaining paint or surface rust etc, it also gives an ideal surface for the immediate application of the protective powder coating, a happy concequence is the sandblasting and satin black powder paint give a nice uniform appearance to the chassis. It makes a huge impact to the overall appearance of the base chassis work to have this step completed and means that focus can start to shift towards the more cosmetic panel work, the next challenge being where to begin! You can see from some of the early photos in Bob's restoration that unfortunately there is not much original panel work, particularly the Front End, that can be saved due to sustained damage in his litetime.
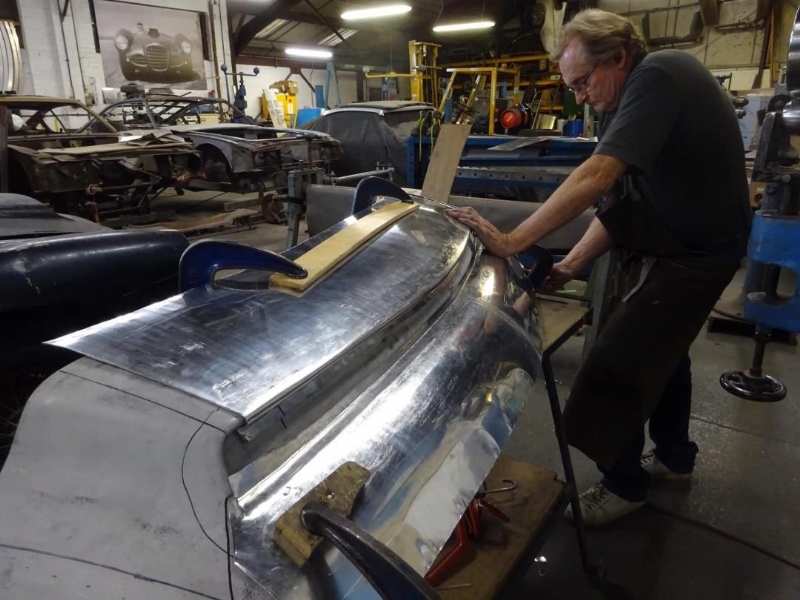
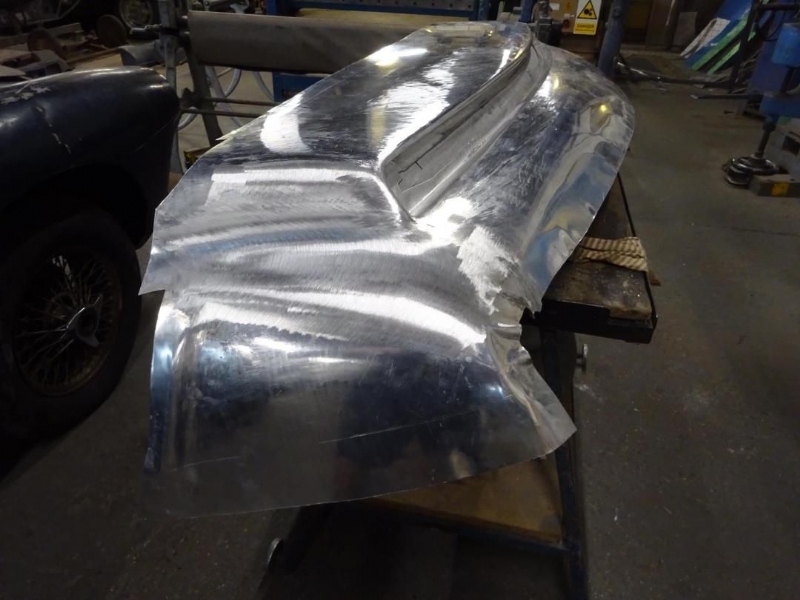
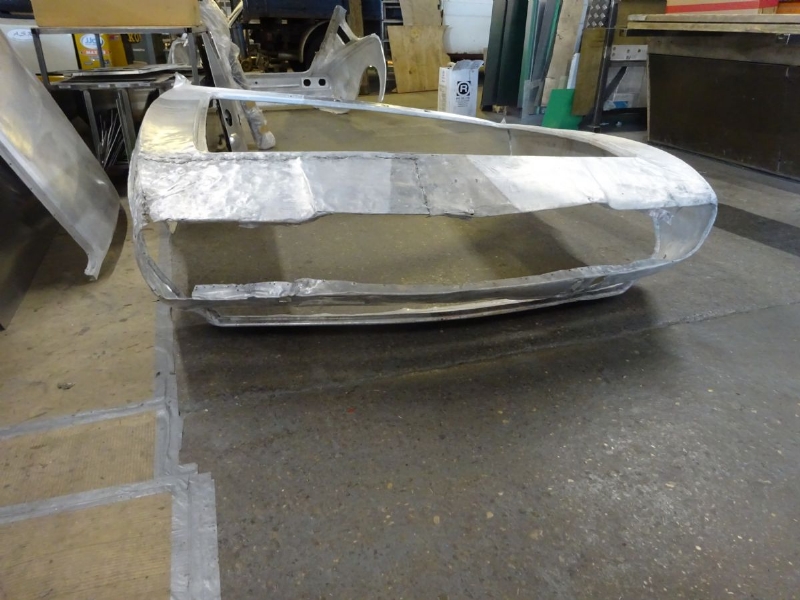
As you have seen from the photos of the original panel work, and as we've previously mentioned, the front end in particular was beyond saving due to damage previously sustained and repaired. So we have had to form a new lower front valance, this particular part is known by a few names such as the "Chin Panel" or even the "Shark Mouth" given due to its unique and recognisable shape. As you can see from the latest photos the newly constructed panel has a much more polished finish than the original! While this panel is not currently listed in our Available Parts , it is something we can make so please don't hesitate to get in touch if you need one.
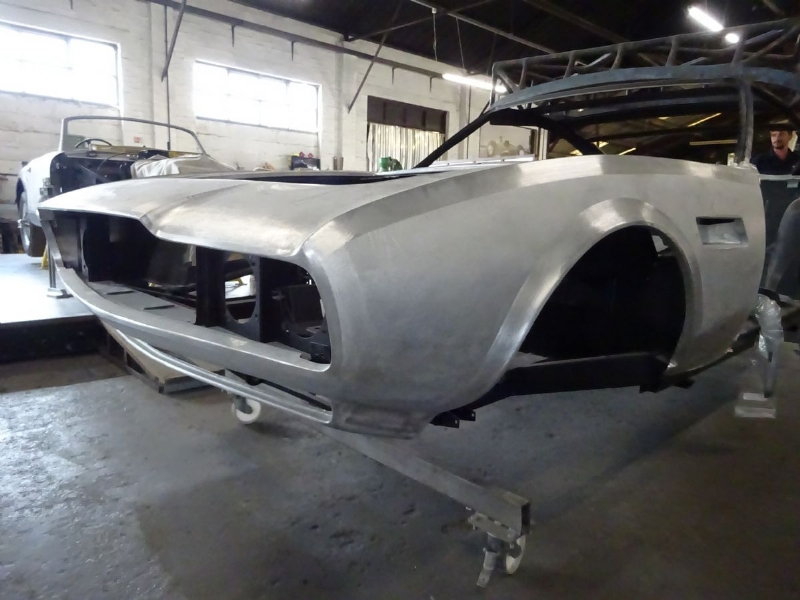
What a difference a brand new front end makes! Bob's front end, which we've featured heavily, is nearing completion, the grille will need fitting and some work to the bottom to ensure correct fitting, however he looks in much better shape, and as you can see the "chin panel" we previously mentioned fits beautifully. It feels like with a restoration the do list gets longer rather than shorter, but I think we're finally getting there with Bob's front end!
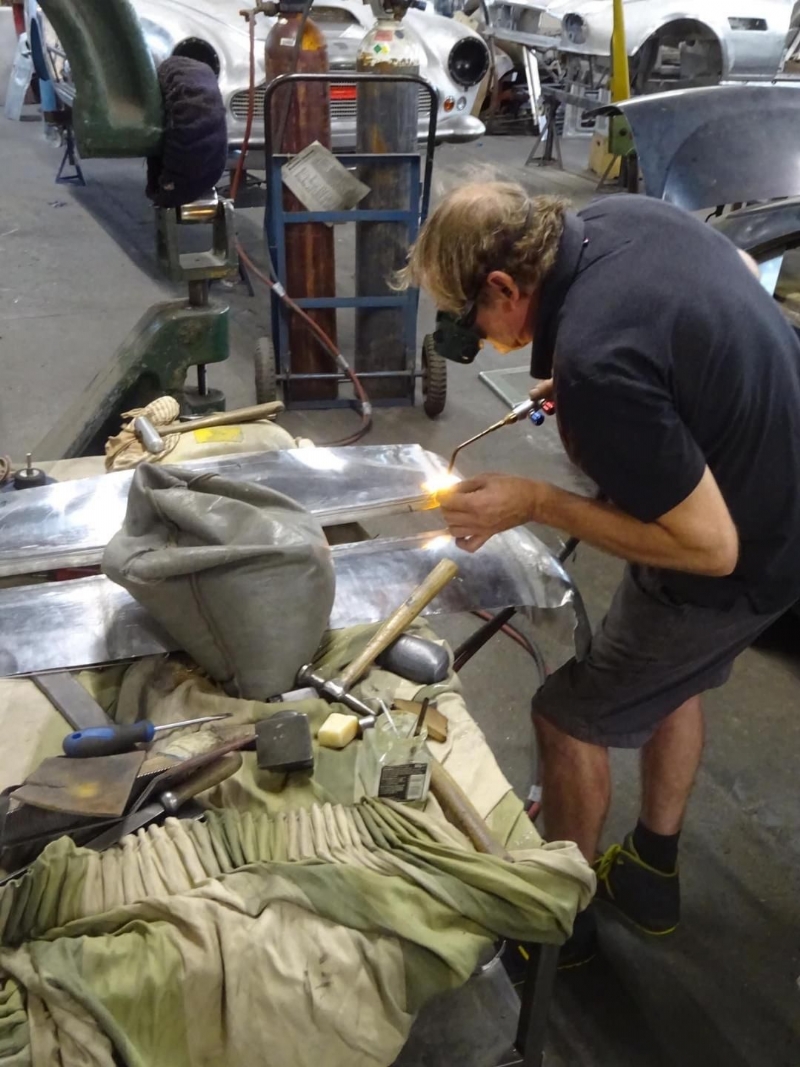
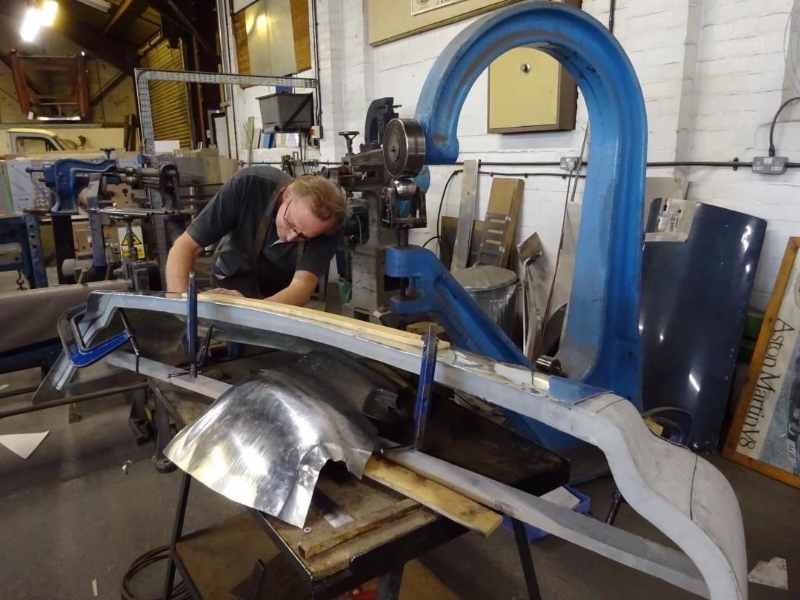
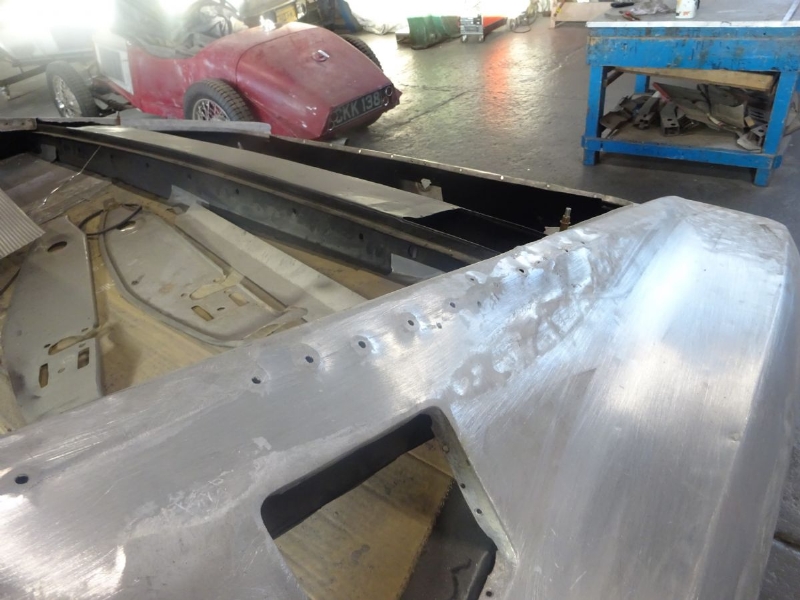
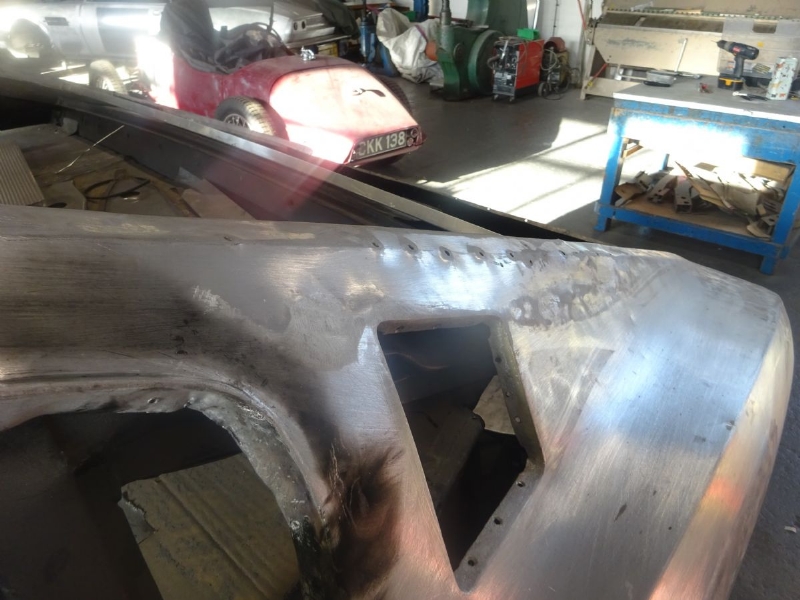
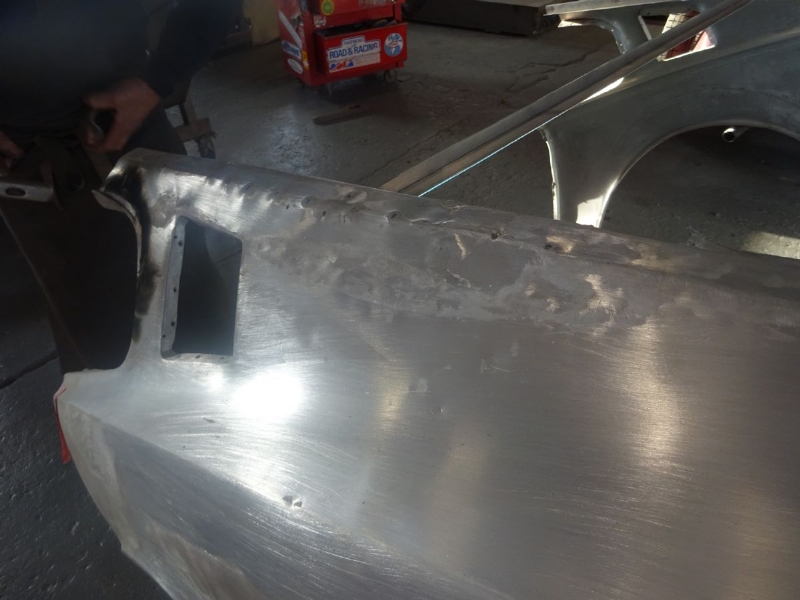
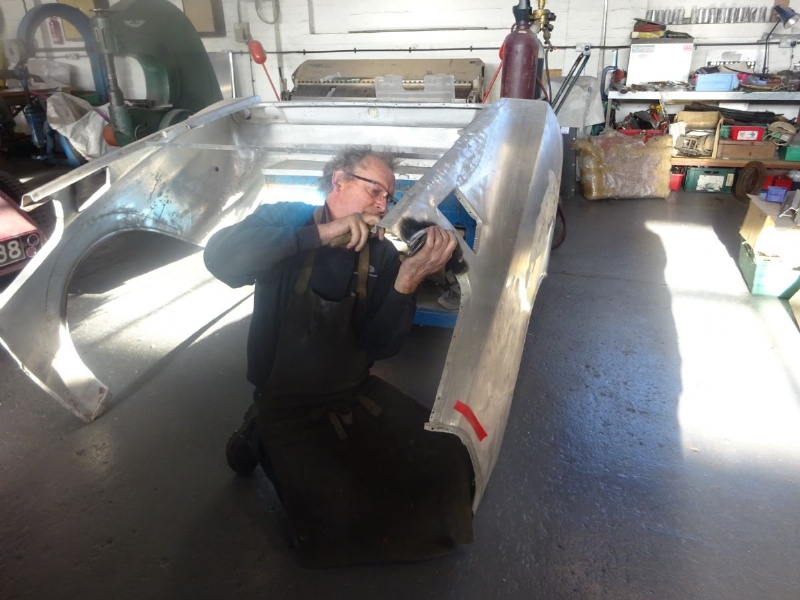
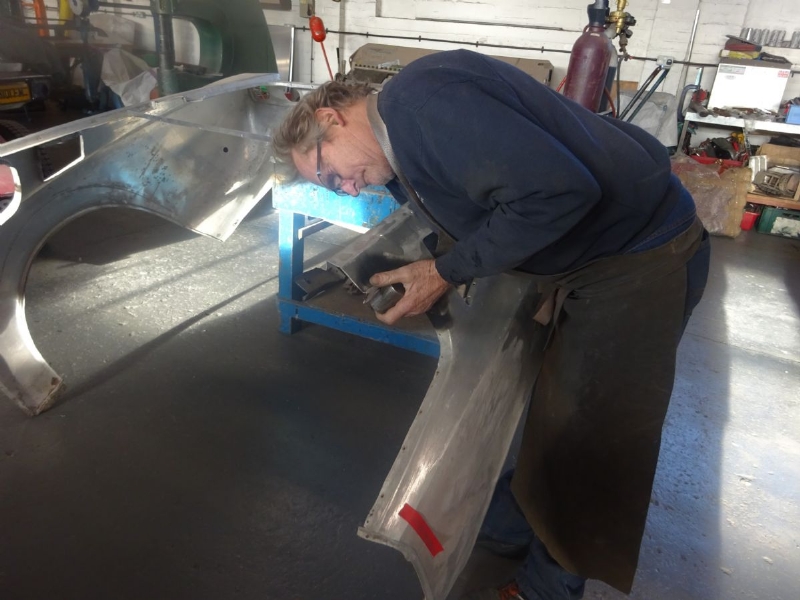
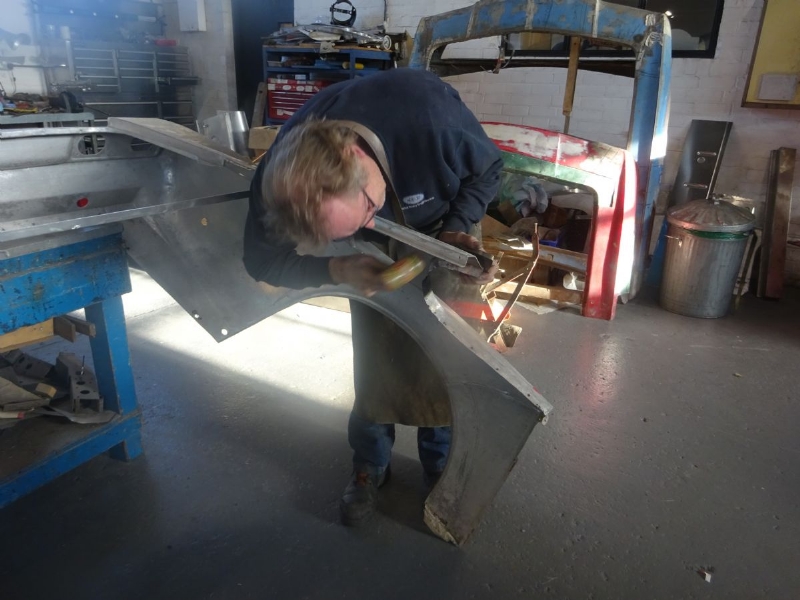
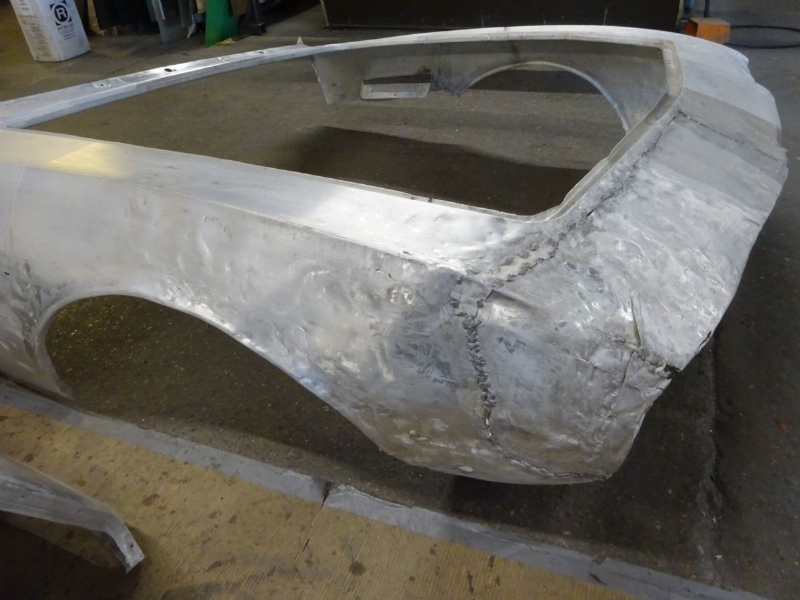
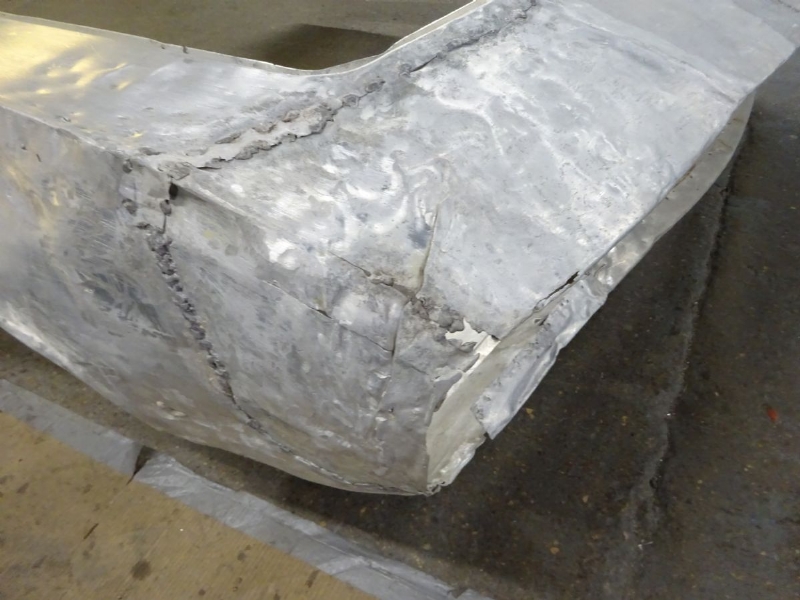
Work has begun on Bob's rear end, and as with the front end, there are some parts that can be repaired, and some parts that can not. These may need to be completely replaced with a new part, especially if structure or strength has been compromised, or may become compromised if the entire part is not replaced in one go. As you can see from the photos, the rear end looked pretty bashed about, but actually bashing it was part of the solution! Shown in the progress photos is Shaun using a hammer and flatter to smooth out the line along the edge of the rear end, this line will eventually sit flush with the boot lid so its very important that its as smooth as possible! On our facebook is a video of this process for you to view if your interested.
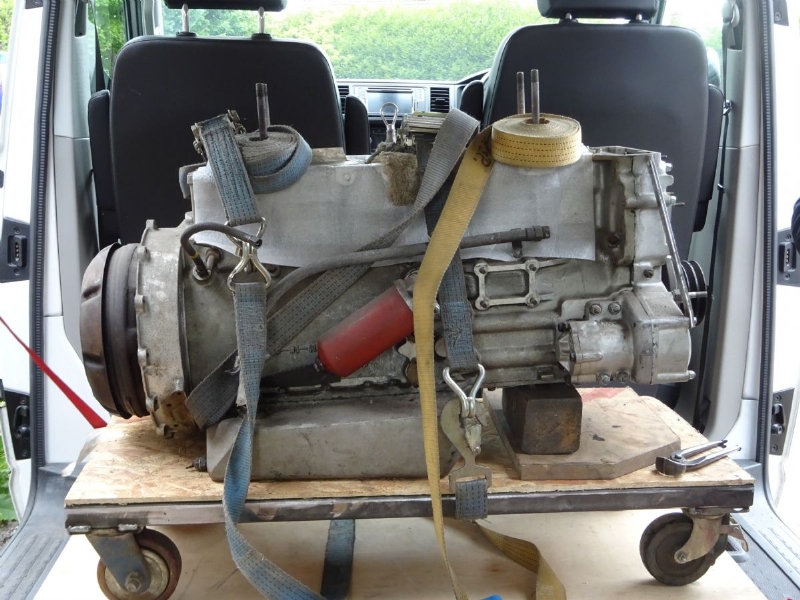
Update: A slightly different aspect of Bob's journey that has been ongoing, is the restoration of the engine. The engine Bob has is a 6 cylinder engine and as you can see from the photos it is a huge piece of machinery that had to be moved very carefully, everyone had their concentration faces on that day. We are only responsible for the restoration of Bob's body work, so the engine had to go elsewhere to be worked on, but it was important that it came back to us, as at some stage it will be fitted into the car and we will need to ensure all the supporting structures are in place and doing their jobs properly, we wouldn't want this falling or moving out of place. As you can see from the photos the engine was in a pretty dire state prior to restoration, it now looks much better, and fingers crossed we'll get to hear it in action soon.


.jpg&d=800)
.jpg&d=800)
.JPG&d=800)